Last week the flush lever to the upstairs’ toilet broke off. Since then we have resorted to a piece of string.

See the sad busted lever and the pathetic piece of string?
As I stood surveying my options at Lowe’s I decided to go whole hog and replace everything in the tank. It had been making a god awful racket when it was refilling and I was pretty sure that in its 17 years nothing had been replaced in the tank. I figured it was only a matter of time before other parts failed and it would be nice to only have to empty the tank once. Ironically that night while surfing the web I discovered that October is National Toilet Repair Month. Obviously I was fated to do this home repair project. Once home I realized I forgot to get a new lever, thus delaying the project for a few more days.
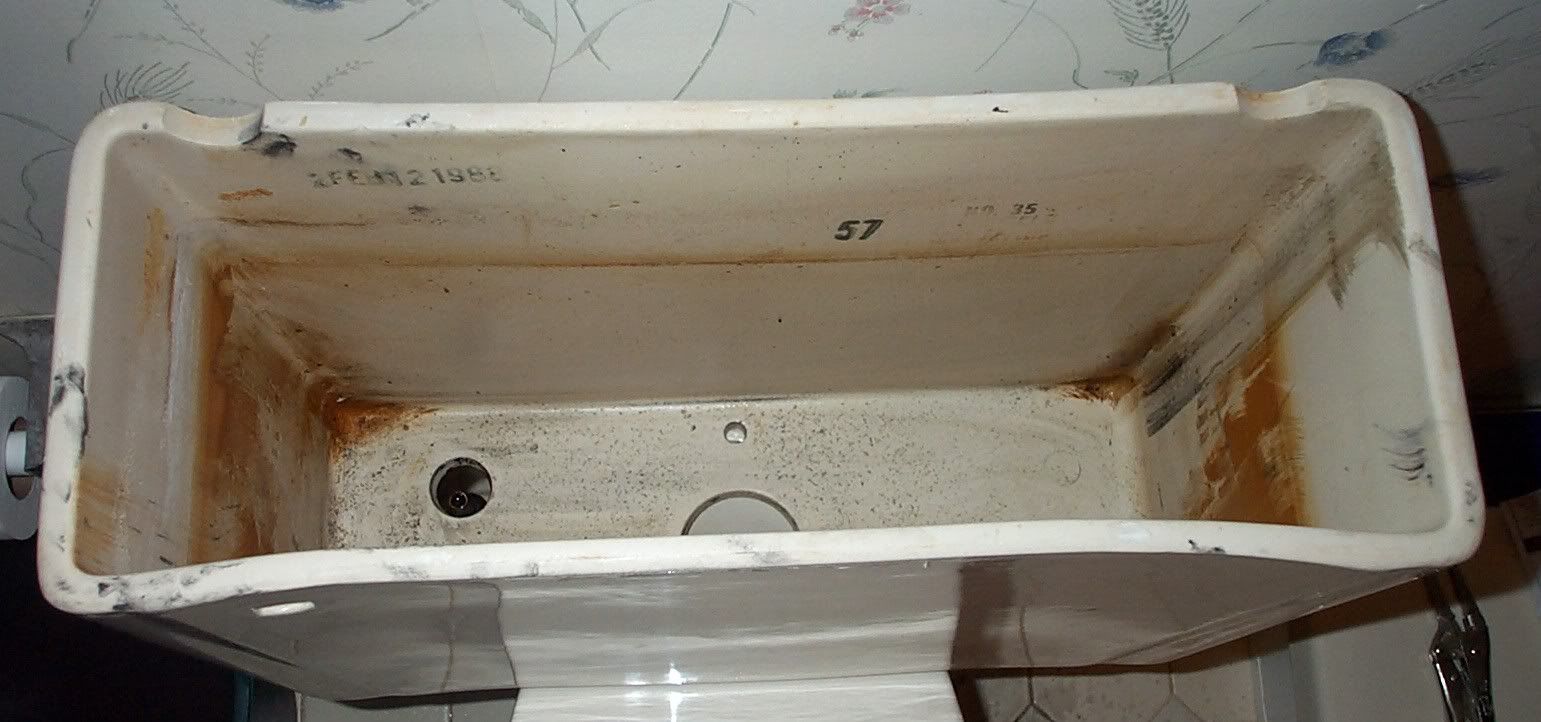
Last night, after the kids were put to bed I gathered my supplies and started in on my project. Having replaced a fill valve before, I understood the importance of a bucket and a sponge. Off went the water and I did a final flush with the piece of string. The fill valve was a snap and was easy to unscrew. The tank bolts were a bit more problematic. After five minutes spinning a nut and its screw I finally realized that I needed to use my screwdriver and the vise grips at the same time (Duh). Then it was just a few minutes later that I got to lift off the tank. I was then confronted with the flush valve in all its plastic glory. I attempted to unscrew it and it snapped right off. The monstrous fastener on the underside was too big for my pliers and I couldn’t get a decent grip on it. While messing about with my screwdriver I discovered that the plastic was very brittle and chipped easily. Ah-ha! I’ll just break it out. It was busted and I was going to chuck so it was a good solution. With careful use of my pliers I got it out without harming the tank. I quickly wiped out the tank and here it is in all its empty glory.

Now for the fun part, I get to put it all back together. It actually went pretty well. It was much better (and faster) than if I had any of my assistants with me. I ended up putting the tank back on three times. The first time as I was halfway done with the screws when I realized I forgot to put a gasket on. The second time I decided that I needed to reposition the flush valve. The third time was the charm. Fortunately I realized beforehand it would be easier to put the new fittings on the supply line before all of my tank shenanigans. The rest went very smoothly and I had it all together in short order. Then it was time to put it to the test. I opened up the supply valve and... No leaks! Hooray! Then I did the inaugural flush and it worked! As an added bonus the horrible sound is gone.
Here it is with its shiny, shiny handle.

Now all it needs is a new seat. But that can wait for another day.
No comments:
Post a Comment